
Media Library bulk actions
The Media Library list view has bulk actions for offloading, restoring and freeing space on selected items, so you can work on a few files without running a full bulk offload.
The actions#
| Action | What it does |
|---|---|
| Offload to cloud | Uploads the selected items to your bucket. Items already offloaded are skipped, and so are files kept on your server on purpose, such as font files. |
| Download to server | Downloads the cloud copy of the selected items back to wp-content/uploads. |
| Remove local copies | Deletes the server copy of the selected items. Each file, including every image size, is first confirmed in your bucket with the same size; anything else is kept. Protected store files and font files are skipped. |
| Send to Bunny Stream | Sends the selected videos to your Bunny Stream library. Only shown when Bunny Stream is set up. |
Using them#
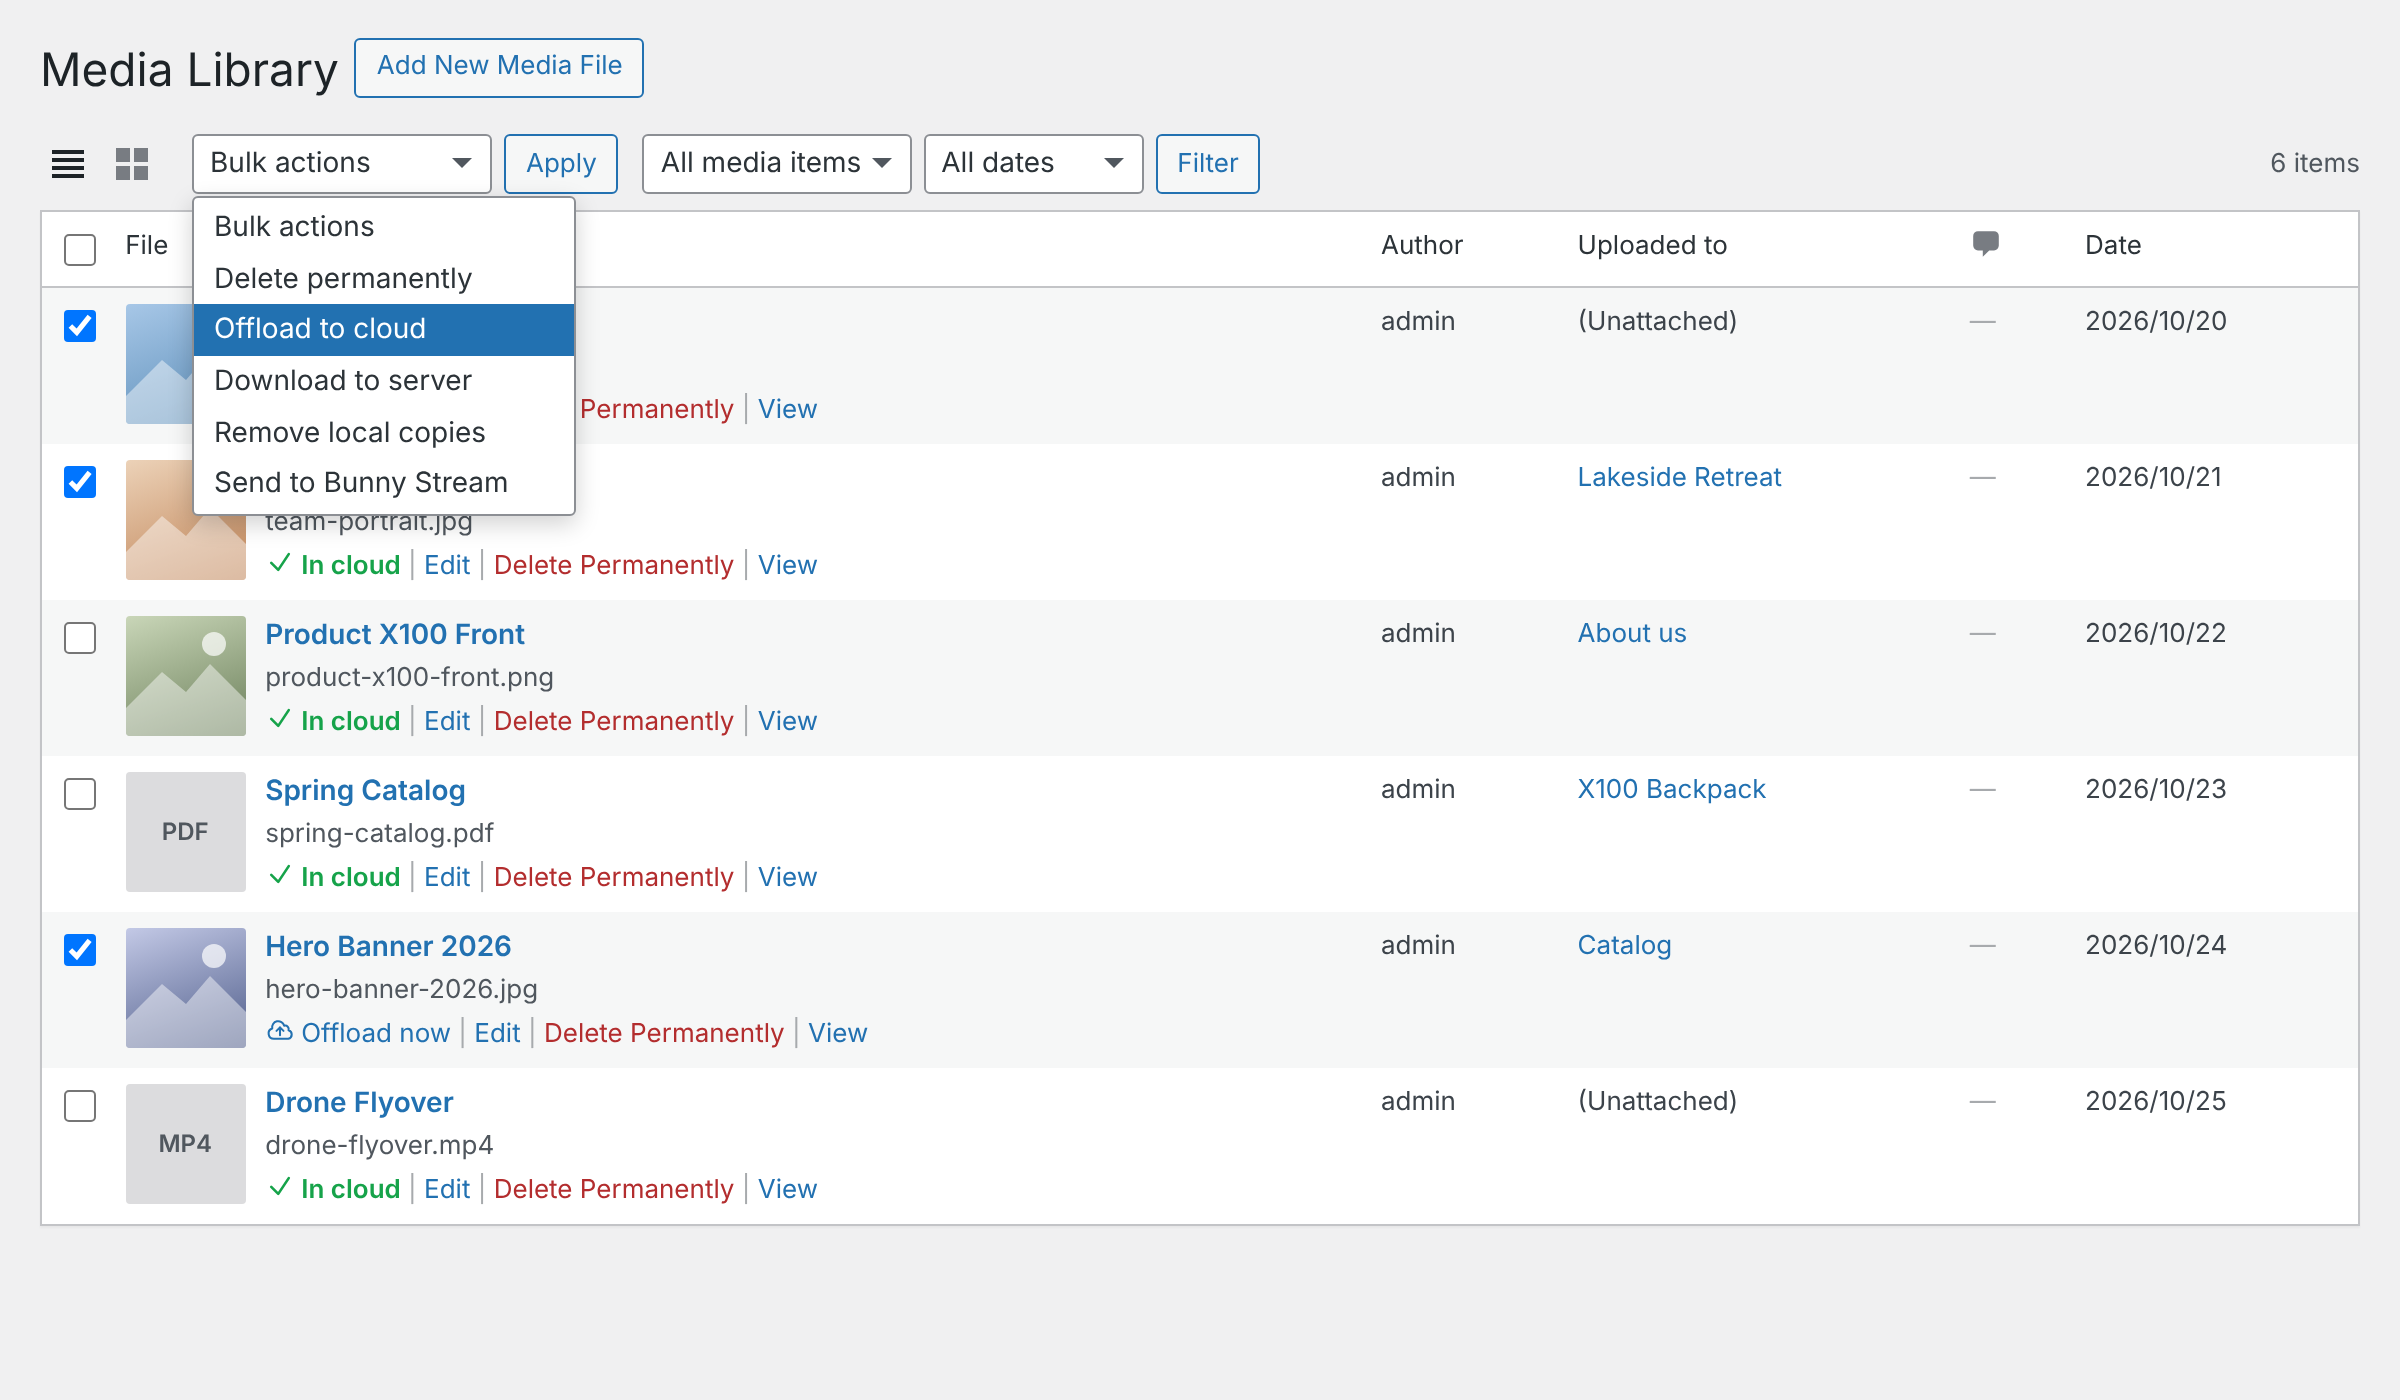
- Go to Media > Library and switch to list view (the list icon at the top).
- Tick the items you want, up to 200 at a time.
- Choose an action from Bulk actions and click Apply.
When it finishes, a notice says how many items were processed, skipped or failed, with the first error if there was one.
The actions work inside any folder view of FileBird, Real Media Library or HappyFiles.
Checking an item#
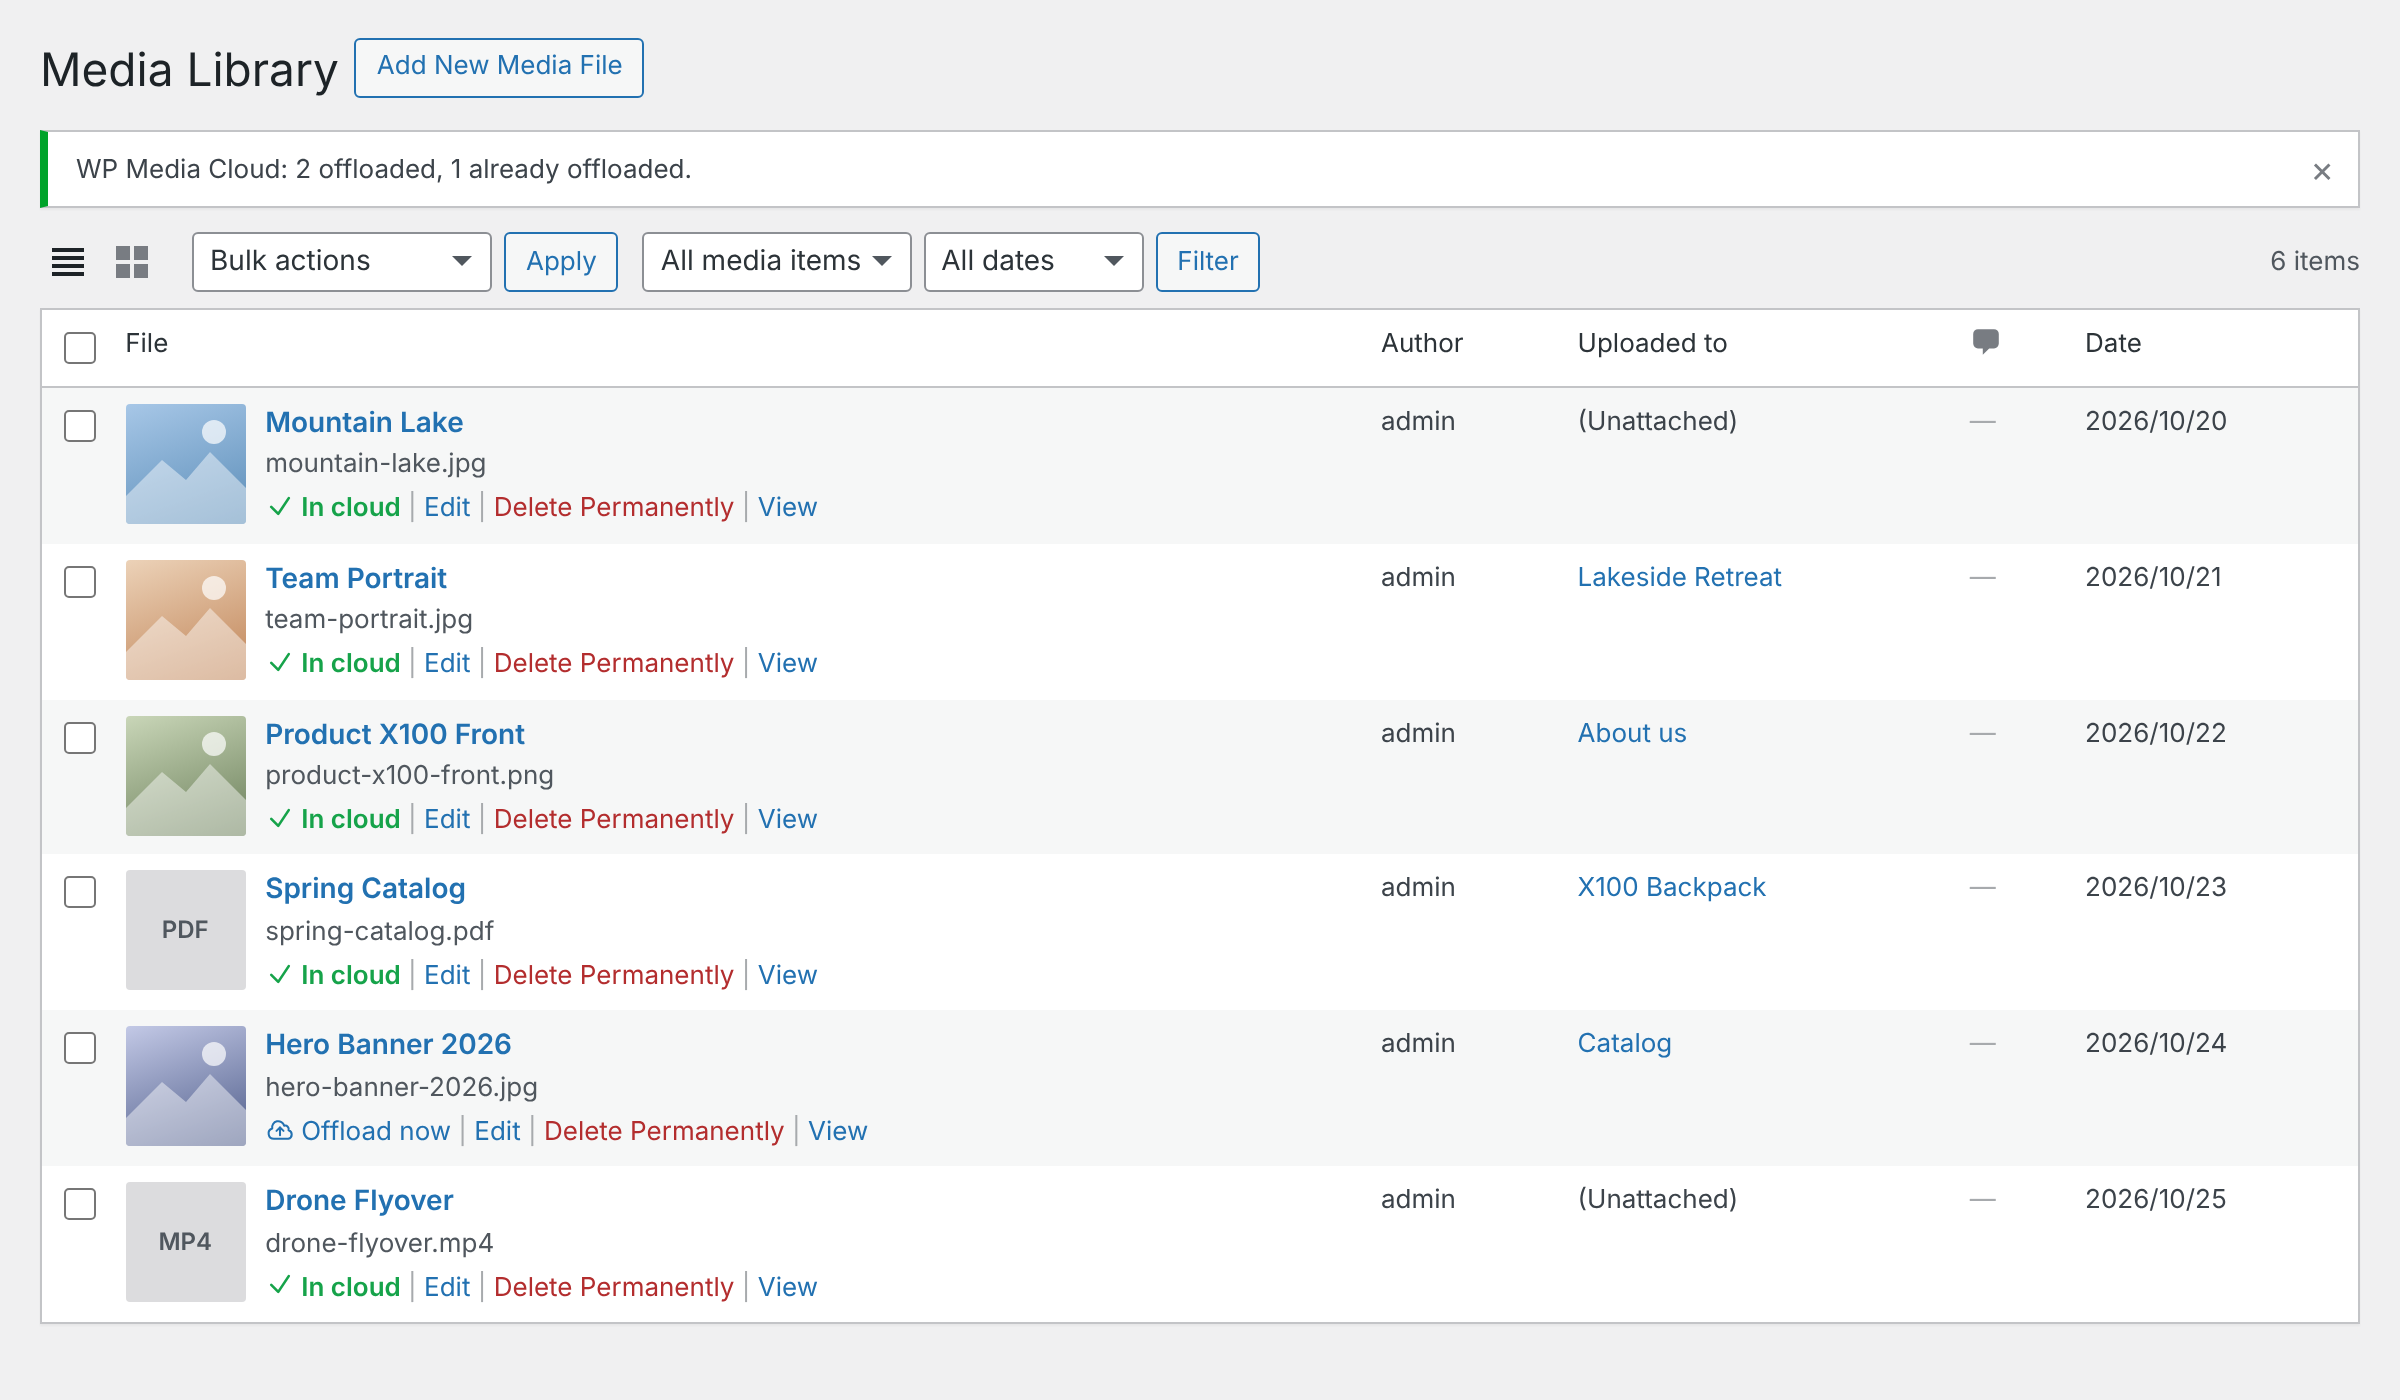
In list view, offloaded items show In cloud under the file name. On an item’s edit screen, the WP Media Cloud field shows Offloaded.
For the whole library#
For every item at once, use the bulk offload on the Dashboard, Remove local copies in Settings, or WP-CLI: wp wpmc offload, wp wpmc restore and wp wpmc remove-local.